


Discover the power of Surya Namaskar! This guide breaks down the 12 essential poses of Sun Salutation, explains the health benefits like improved digestion and energy, and helps you perfect your form for a transformative daily practice.
Here are your favorite yoga teachers, and we are today exploring one of the most popular and most basic yoga practices in the yoga world: Surya Namaskar, or the Sun Salutation. You may have heard of it, or seen it, or possibly gone through some rounds of it! It is a really gorgeous and vibrant sequence that is able to change your practice and your day. Have you been curious about the way to do Surya Namaskar or need a full-fledged Surya Namaskar guide? Then you are in the right position!
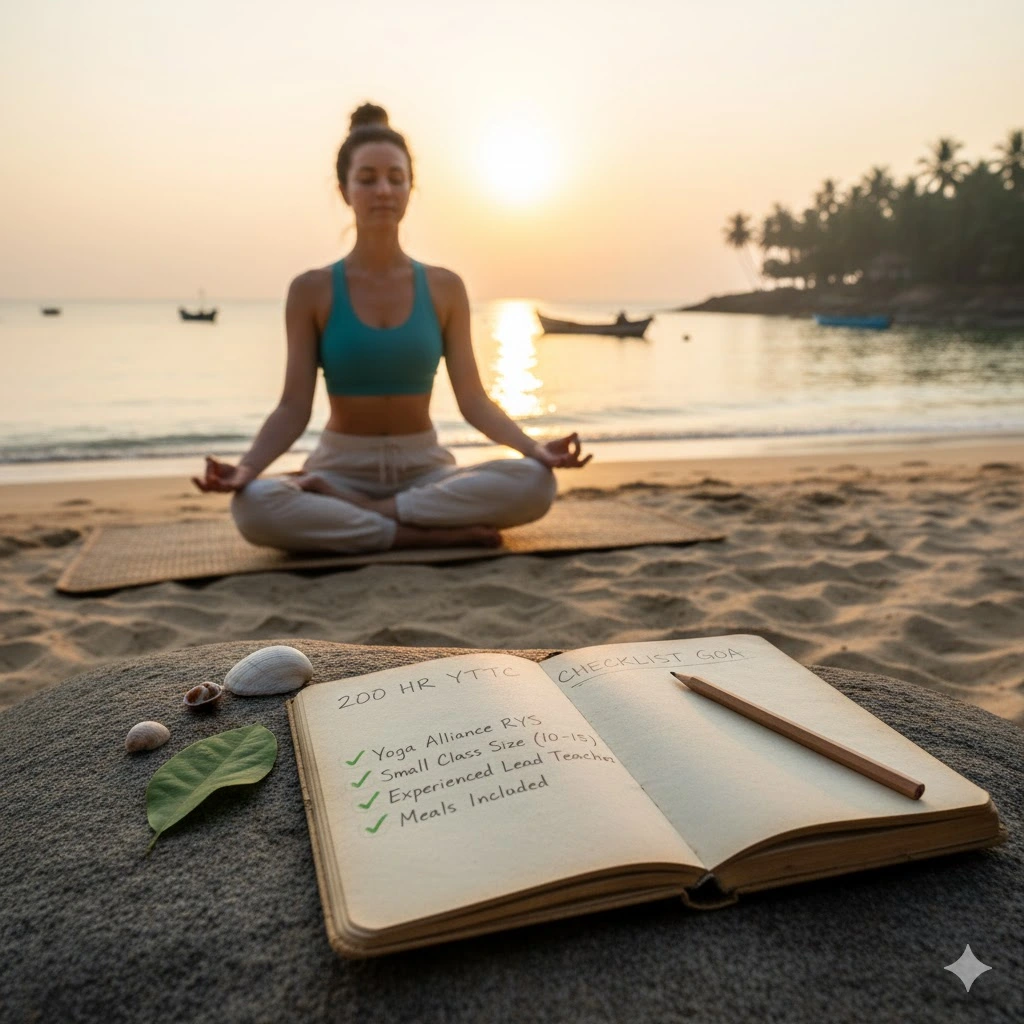
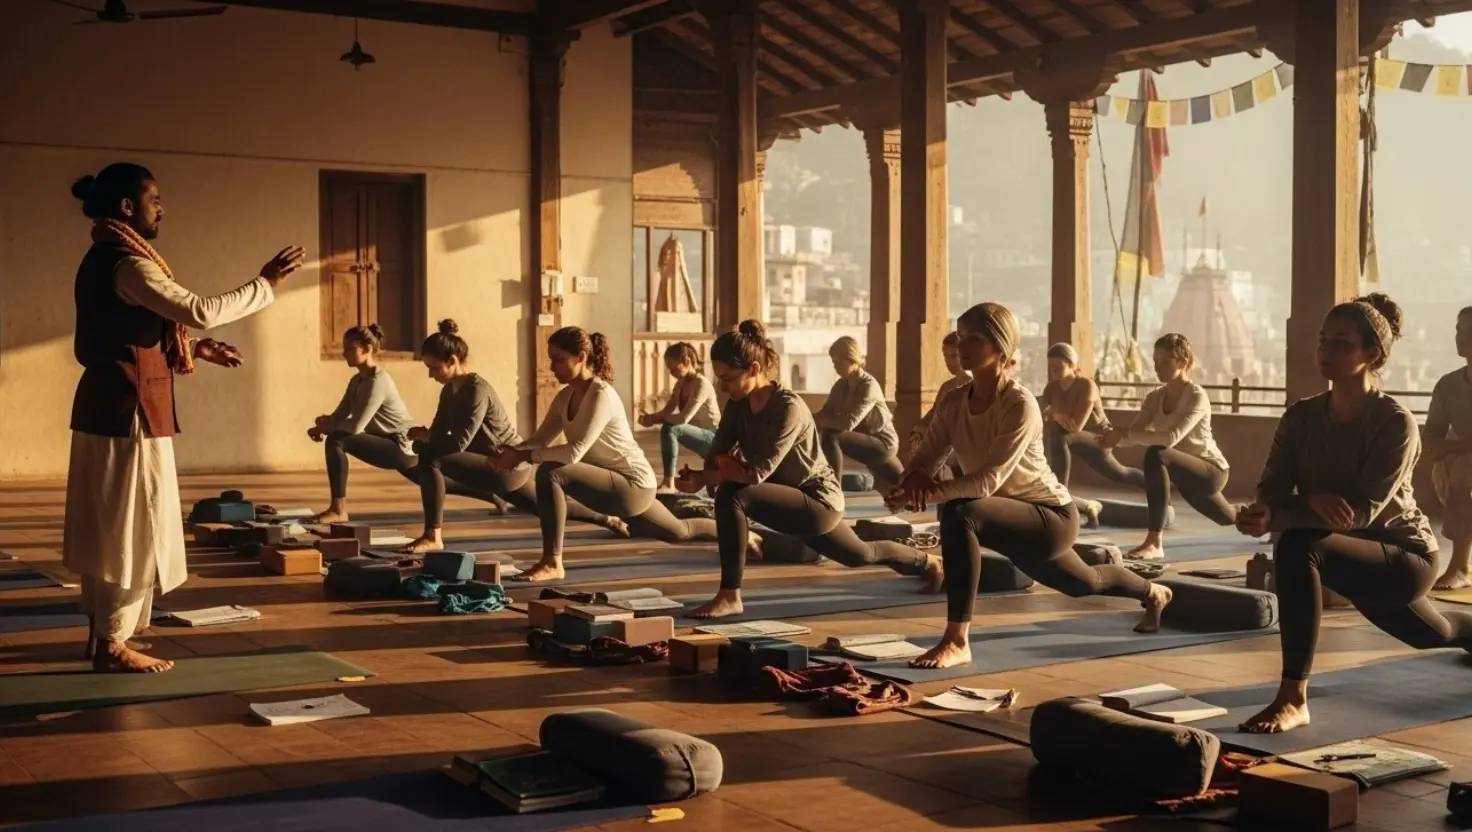
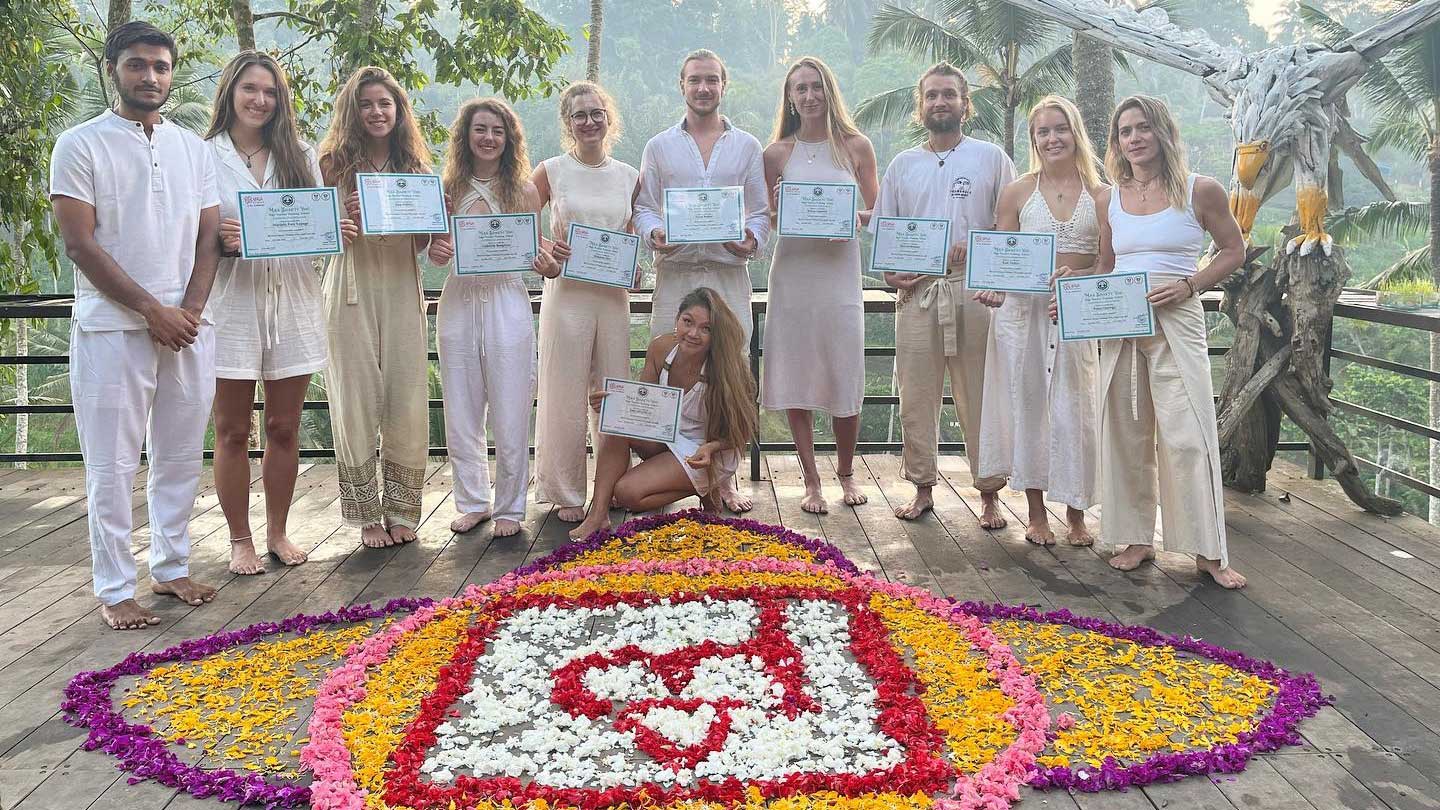
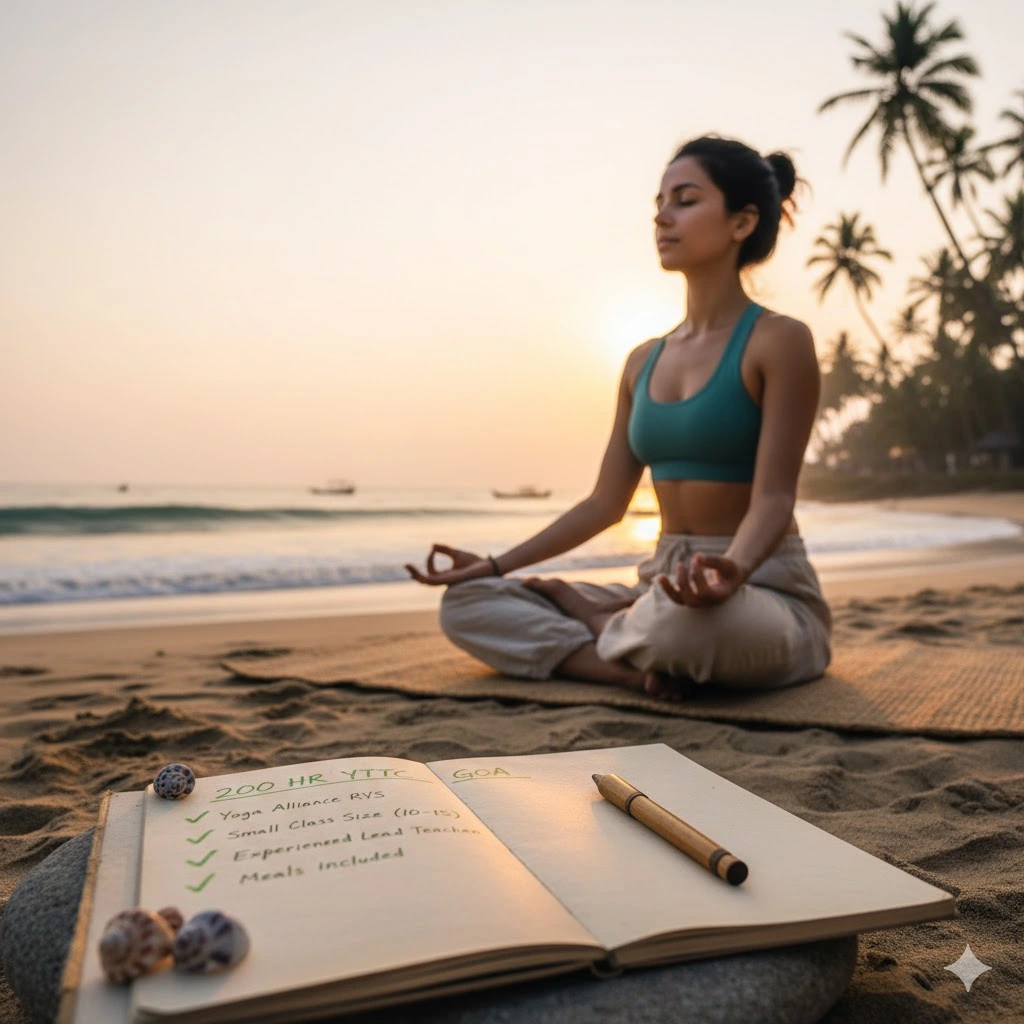
We recall that the first time we arrived in India, we came to know about the Surya Namaskara sequence. It was somewhat of a dance, a moving meditation that made so much energy and concentration. It really is a foundation of our yoga teacher training here at our yoga school due to the unbelievable strength, flexibility, and mindfulness-building capabilities. For more insights on yoga in this region, check our Ultimate Yoga in Goa Guide. But more on that later!
You need to know the basics of Sun Salutation, or you simply need a brush-up on the standard sequence with me. Prepare to bow to the sun and unleash your power!
Then, before we proceed to all the details of the steps, we should discuss the genius of this practice. The benefits of Surya Namaskar are enormous and effective indeed:
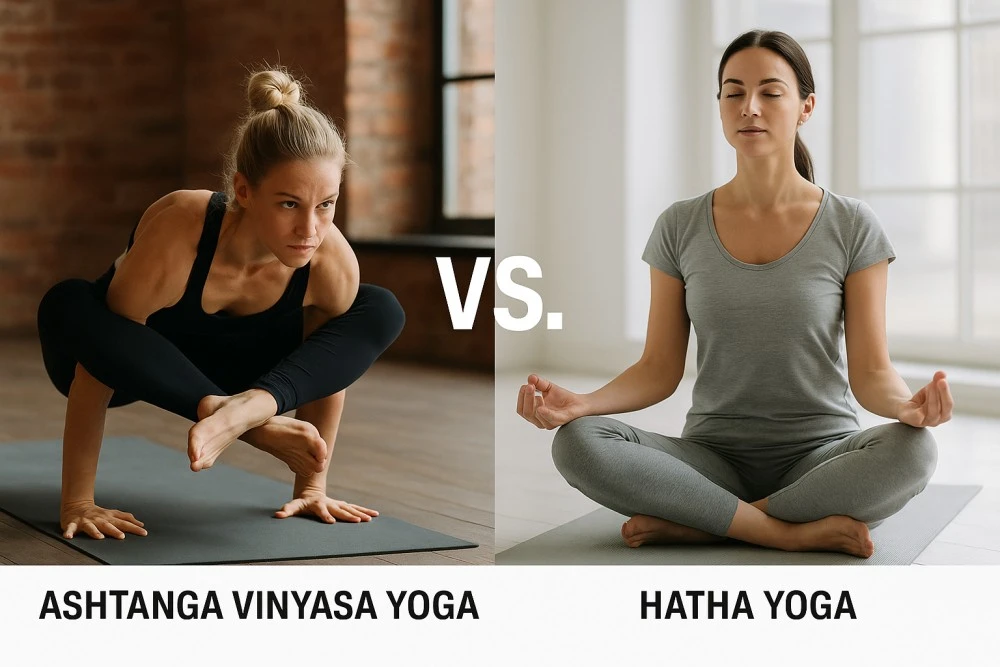
Deep postures are a great way to warm up before a Hatha Yoga class and get your body ready for more challenging poses. Are you prepared to take advantage of these benefits for yourself? We're going to do the Sun Salutation yoga pose!
The following will be a breakdown of the traditional Surya Namaskar sequence, India style, which will be easy to follow. Never forget to move with your breath and listen to your body.
How to Enter: Be on top of your mat, with feet together or hip-width apart. Bend your palms at Anjali Mudra (prayer position) on your chest. Shoulders should be relaxed with your gaze in front.
Mistakes to Avoid: Tension in the shoulders, slumping.
Advantages: Centers and grounds you, making ready the order.
How to Enter: Take a deep breath, swing your arms upwards, and put your biceps on your ears. Smoothly bend your back, raising your chest to the heaven.
Mistakes to Avoid: Over-arching in the lower back, shrugging shoulders to ears.
Benefits: Stretches the anterior part of the body, opens the chest and shoulders, and increases the volume of the lungs.
How to Enter: Breathe out, hinge at your hips, and bend forward, making your spine long. Hold your hands on the floor next to your feet, or opposite elbows in case of a tight hamstring. Your knees can be well bent.
Mistakes to Avoid: Back rounding, stretching it.
Advantages: Strengthens hamstrings and spine, relaxes the nervous system, and increases the rate of digestion.
Entry: Breathe in and take a step backwards, pushing the right (or left) foot behind the body and bending the right knee at a 90-degree angle. Bend your chest, look ahead, and ensure that the front knee is aligned with the ankle.
Mistakes to Avoid: Forward knee over the ankle, hips collapsing.
Benefits: Stretches the hips and the groins, tones the legs, and opens up the chest.
How to Enter: Breathe out, back your front foot with the other foot, and get into a high plank. The distance between hands is equal to the width of shoulders, fingers are open, and the body is straightened from head to heels.
Mistakes to Avoid: Hips sinking or lifting too high, wrists failing to be under shoulders.
Benefits: Strengthens the core, arms, shoulders, and wrists.
Method of Entering: Breathe out and come to your knees on the mat, roll your back and chin to the ground, ensuring that the elbows are drawn as close as possible to your body. Your hips will remain lifted.
Mistakes to Avoid: Sinking hips, flaring out at the elbow.
Advantages: Trains the arms and shoulders, massages the belly.
Entry: Breathe in, straighten your chest and your legs, and raise them on the mat. Keep your elbows bent and tucked in with relaxed shoulders at the back. Use your back muscles, not that of pushing the hands.
Mistakes to Avoid: Overextending the lower back and shrugging shoulders.
Benefits: Makes the spine stronger, opens the chest and shoulders, and increases the back flexibility.
How to Enter: Breathe out, tuck your toes, and press up and back, lifting your hips and hands and feet. And stretch out thy spine, and hang thy head! In case you have tight hamstrings, you can maintain a curve in your knees.
Mistakes to Avoid: Back rounding, knee locking, failure to press with all ten fingers.
Benefits: It stretches the whole back of the body, tightens the arms and legs, and relaxes the brain.
How to Enter: Breathing in, place the right (or the same foot that you have bent back in step 4) foot forward between the hands, and keep the left knee on the floor. Lift your chest, and gaze forward.
Mistakes to Avoid: Forward knee over the ankle, hips collapsing.
Benefits: Stretches the hips and the groins, tones the legs, and opens up the chest.
How to Enter: Exhale, push your back foot forward to meet that of the front. Bend in front of your hips towards the mat or hold opposite elbows.
Mistakes to Avoid: Rounding the back, straining.
Advantages: Strengthens hamstrings and spine, relaxes the nervous system.
Getting in: Breathe in, raise your arms above, curving back slightly, lifting your chest.
Mistakes to Avoid: Over-arching in the lower back, shrugging shoulders.
Benefits: Stretches the anterior part of the body, opens the chest and shoulders.
How to Enter: Turn your palms again to your chest in Anjali Mudra.
Mistakes to Avoid: Tension.
Advantages: Grounds and centers you, rounding you out.
And that is a round of one Surya Namaskar! Then, you repeat the sequence, putting the opposite foot in the lunge poses (steps 4 and 9) so that you would balance. It should be 3-5 rounds to begin with and gradually increase as you feel comfortable.
You may be asking yourself why we attach so much importance to the Sun Salutation as part of our Yoga Teacher Training program. It is due to the fact that Surya Namaskar is not only a series of poses; it is a mini-practice on its own. It teaches:
Learning to perform the Surya Namaskar series, our YTT students get to know the ins and outs of the principle of vinyasa, which is always essential in their own daily practice, as well as in teaching others. When you really want to get deeper into yoga and possibly even become a sharer of its knowledge to the world, we invite you to look into our full-fledged Yoga Teacher Training. We would be happy to help you on your way.
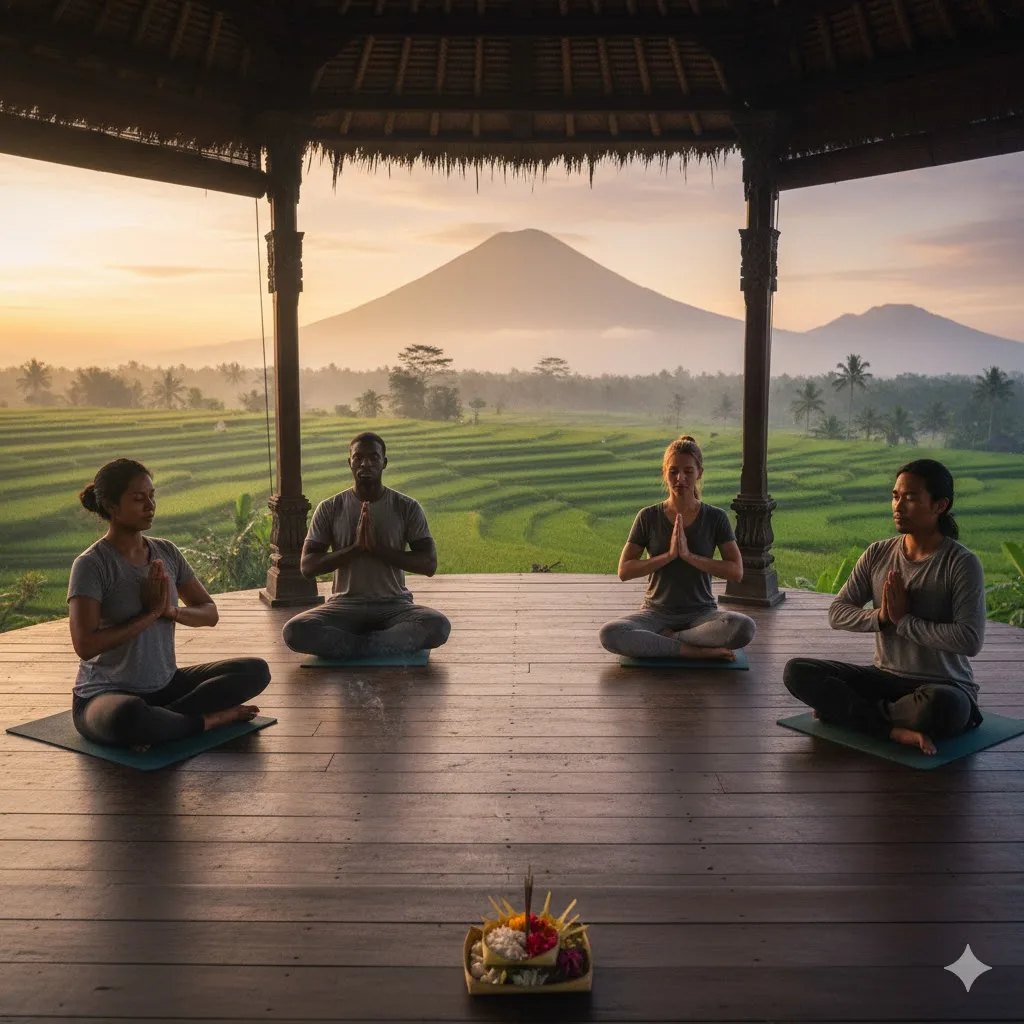
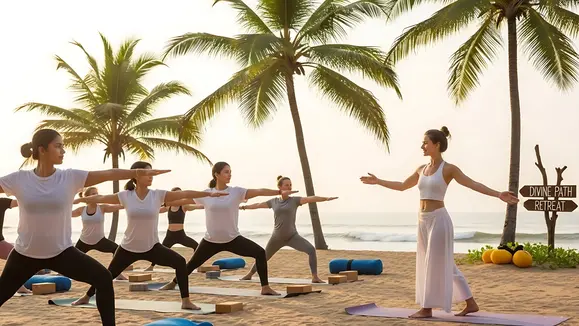
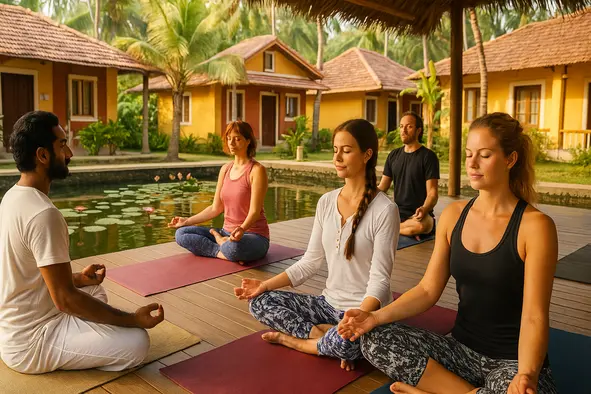
Deepen Your Practice in India
Ready to master these poses under expert guidance? Join our immersive training in the heart of yoga.
And there it is—your full Surya Namaskar step-by-step guide! There is nothing wrong with it being clunky in the beginning. All you need to do is to keep breathing, keep moving, and most importantly, have fun. It is a gift to yourself and your body, a lovely practice that brings honor to yourself and the energy that nourishes us all.
Make an attempt to add some sets of Surya Namaskar in the morning and observe the difference it makes to your day. In the comments below, tell me what you thought of it after trying it!
Happy Salutations!
The traditional and most effective time is early morning at sunrise, on an empty stomach. Facing the rising sun adds a spiritual dimension and energizes the body for the day ahead. However, you can practice it in the evening (at sunset) if you haven't eaten for 3-4 hours.
If you are new to yoga, start slow. Begin with 3 to 5 rounds daily to allow your body to adjust to the movement and breathing. As you build strength and stamina, you can gradually increase to 12 rounds or more.
Yes, it is an excellent cardiovascular workout. When practiced at a faster pace, it increases your heart rate, boosts metabolism, and helps burn calories. Combined with a healthy diet, consistent practice can significantly aid in weight management.
If you have chronic back pain or a slip disc, you should proceed with caution or avoid deep forward bends. Always consult a doctor or a certified yoga teacher before starting. Modifications (like bending knees in forward folds) are essential to protect your spine.